The question: I want to delete my expense app account. How do I export everything first? Export in layers: the transactions, then the category setup, then reports, then receipt files. Check the exported counts and totals against what the app shows, keep two copies somewhere you control, and only then start deletion.
What does everything actually include?
People say they want all their data and mean one thing, the transaction list. But an expense app usually holds more: categories and rules you trained, account names, budgets, goals, saved reports, attached receipt images and notes. If you only grab transactions, the rest is gone for good once the account closes.
What is the export order?
- Transactions: download the full history, not just this year. A standard all-transactions file is ideal. SpendixAI's export centre has one, along with templates for Tally, Zoho Books and QuickBooks.
- Categories: save the categories and tax codes. In SpendixAI there is a categories-and-tax-codes file. Without it you lose your own naming system.
- Reports: download CSV copies of the reports you rely on, such as year totals by category.
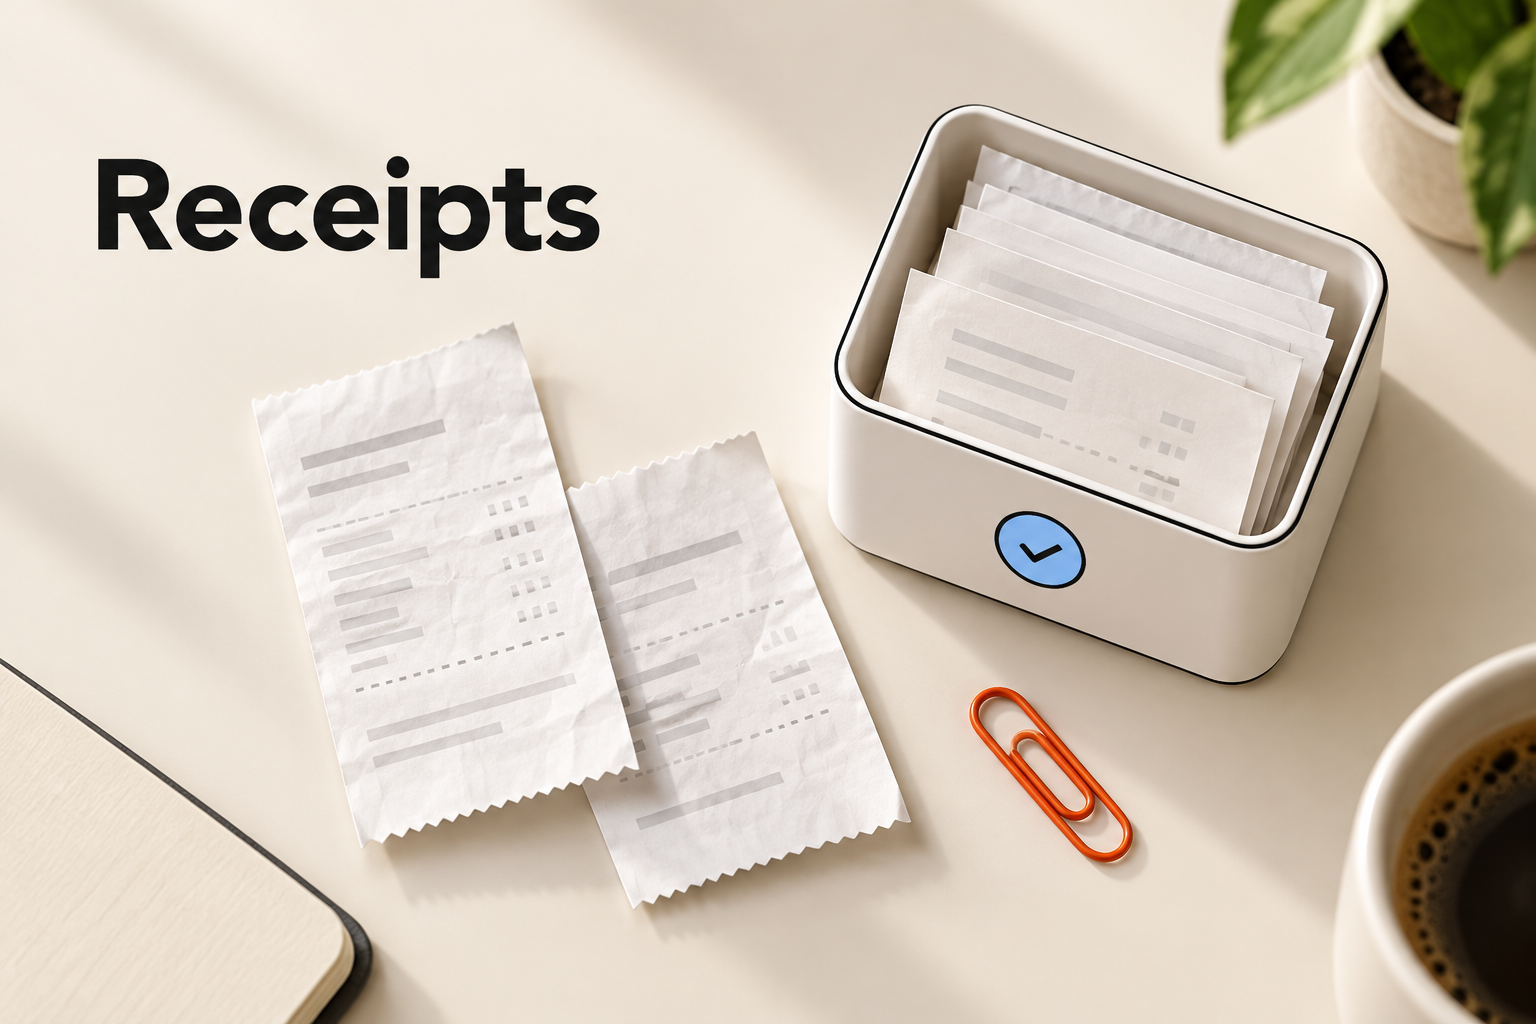
- Receipts: save the attached images or documents. Check whether the app exports them in bulk or one at a time, and plan for the slower case.
- Budgets and goals: write down targets and saved amounts. These are often not part of a file export, so screenshot or note them by hand.
How do you check the export is complete?
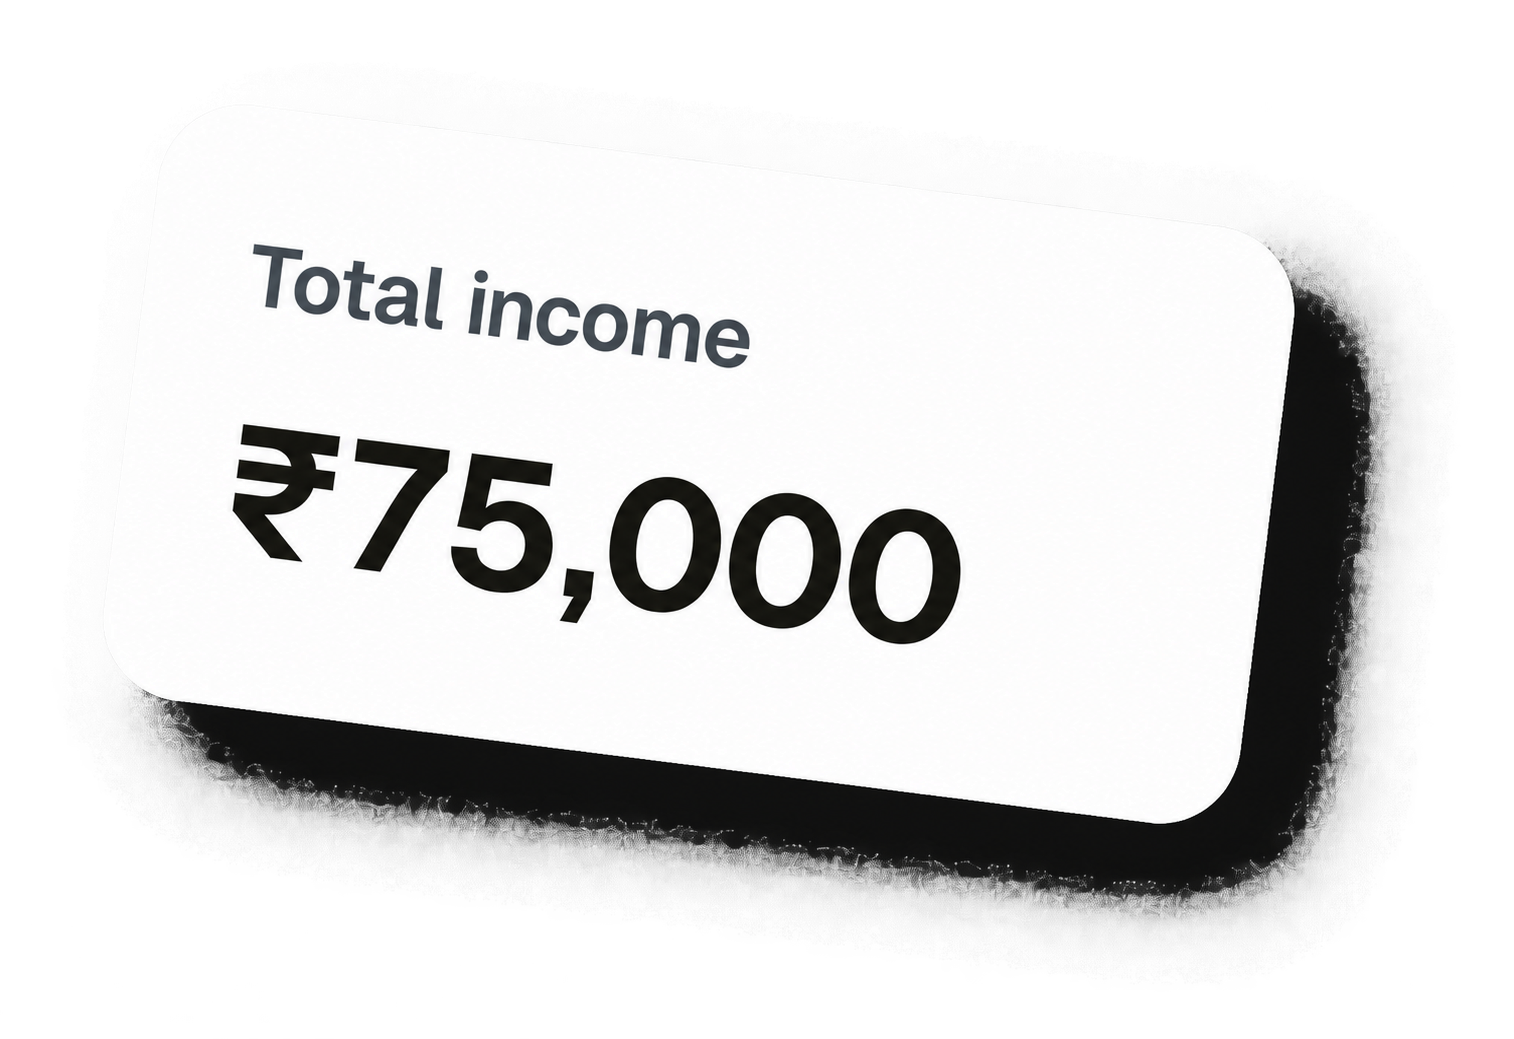
Compare counts and one total. Say the app shows three accounts with 812, 1,104 and 424 transactions. The sum is 2,340. Open the exported file and count the rows: 2,340 data rows means nothing was dropped. Then pick one month and compare its total with the app. If October shows ₹62,450 in both, the amounts survived the trip.
| Check | In the app | In the file |
|---|---|---|
| Account A rows | 812 | 812 |
| Account B rows | 1,104 | 1,104 |
| Account C rows | 424 | 424 |
| All rows | 2,340 | 2,340 |
| October total (sample) | ₹62,450 | ₹62,450 |
Where should the copies go?
- One copy on your computer, one in a cloud folder you control.
- A short note of the file names and the date of export.
- Receipt files in a folder named by year.
- Nothing in a shared folder that others can open.
What about retention and privacy?
Many apps let you choose how long documents are kept and delete transactions individually. If you want less data held but are not leaving, use those controls instead of closing the account. the app offers retention choices and states that it does not sell personal information. Read the privacy page for exact terms.
What if you are moving to another tool?
Then export in a form the new tool can read. A plain CSV with date, description, amount, account and category is the most portable. Open it in a spreadsheet and make sure dates are in a single format and amounts are numbers. Import a small sample into the new tool first, say one month, and compare the totals with the old app before you move the rest. If the new tool shows a different category for a merchant, adjust it once, and then bring in the other months.
Final checklist
- Full-history transactions exported.
- Categories and tax codes saved.
- Reports downloaded.
- Receipts saved.
- Counts and one month verified.
- Subscription cancelled where you pay for it: App Store for iOS, Settings, Billing for web purchases.
Useful ideas start with a clearer picture of your own spending.
Explore your reports