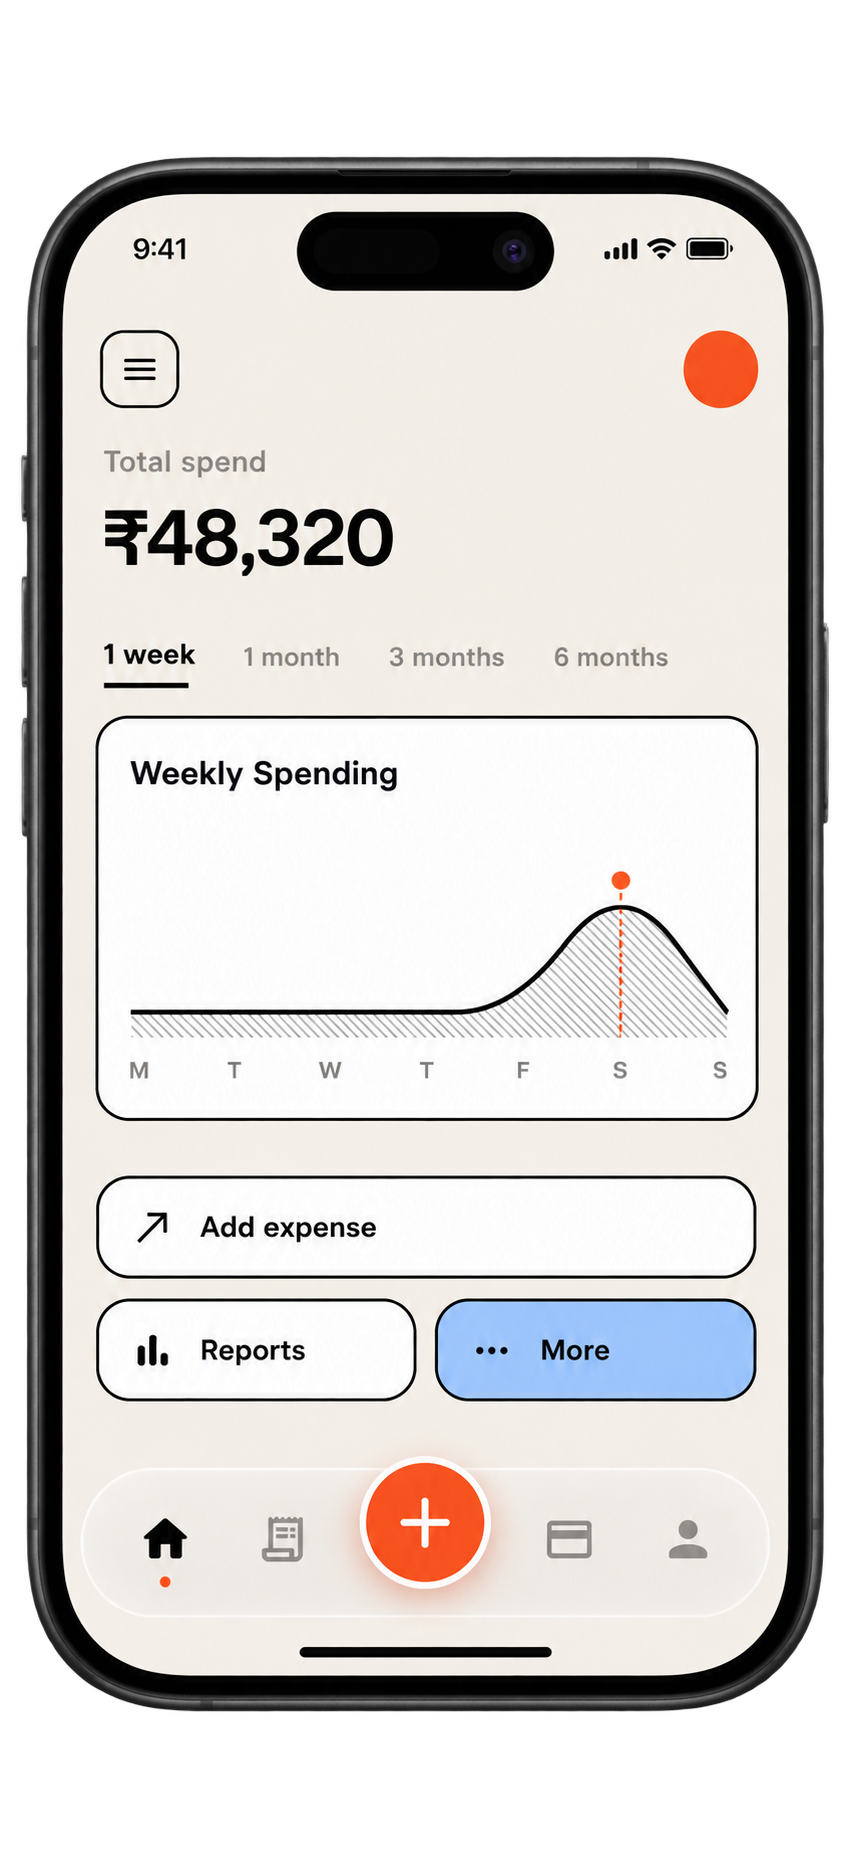
To import a Federal Bank statement into an expense tracker, download your own statement for a clear date range, upload it against the right account, review each row before saving, and make sure each new file starts the day after the last one ended. The two things that most often go wrong are gaps and duplicates, and both come from the date range.
How do you pick the date range?
Look for the statement or e-statement option in your own net banking or app, then choose a custom period if one is offered. Whatever the bank calls it, the rule is the same: begin on the day after your previous import finished. If your last file ended on 30 June, the next one starts on 1 July. That keeps the history continuous.
| Import | Period covered | Why |
|---|---|---|
| First file | 1 April to 30 June | Start of the financial year, three months in one go |
| Second file | 1 July to 30 September | Begins the day after the first ended |
| Third file | 1 October to 31 December | Again no overlap, no gap |
| Fourth file | 1 January to 31 March | Closes the April to March year |
What happens if two files overlap?
Say you download 1 July to 15 October by habit and the earlier file ended on 30 September. The fifteen days from 1 to 15 October are now in the tracker twice. SpendixAI flags possible duplicate imports, and a Possible duplicate charges report lists the same amount to the same merchant within two days, but a flag is a prompt to look, not proof. A genuine pair, such as two identical tea payments in a day, can be real, so read the rows before deleting any.
What are the steps in the import itself?
- Create an account for your Federal Bank account in the tracker, so each row keeps its source.
- Select that account before uploading.
- Upload the PDF, CSV or Excel file. Several files can go in one batch if you are catching up on months.
- Review the rows before saving. Look at the first and last row dates, then scan the amounts.
- Save and check the import history for the status of each file.
The app does not connect to your bank and will never ask for a net-banking login. It only reads the file you give it.
How do you check that nothing is missing?
Compare the last row of one import with the first row of the next, and compare totals with the statement. Suppose a statement opens at ₹9,600, credits total ₹47,000 and debits total ₹39,850. Then 9,600 plus 47,000 is 56,600, minus 39,850 is 16,750. The statement's closing balance should be ₹16,750, and the tracker's total for that period should agree. Also confirm that the next file's opening balance is the same ₹16,750.
Should you import monthly or in bigger chunks?
A quarter at a time is fine for catching up, and the table above shows the idea. For day-to-day use monthly is easier, because a month is short enough to review properly and any mistake is easy to place. Bigger files take longer to check on screen, so tiredness makes errors more likely. Pick one rhythm, write it down, and stay with it until the habit holds.
What if the file will not import cleanly?
We do not know every layout of a Federal Bank statement, so some files will need attention. If a PDF has misaligned columns, download CSV or Excel for the same period if offered. If the date column is read the wrong way round, correct it in review. An import that fails entirely sends an Import failed notification, and you can retry with another format.
Before you leave the screen
- Write down the last date imported.
- Confirm the closing balance matches the statement.
- Add a few rules for the payees you see most.
- Put the next import on your calendar for the first week of next month.
Useful ideas start with a clearer picture of your own spending.
Explore your reports