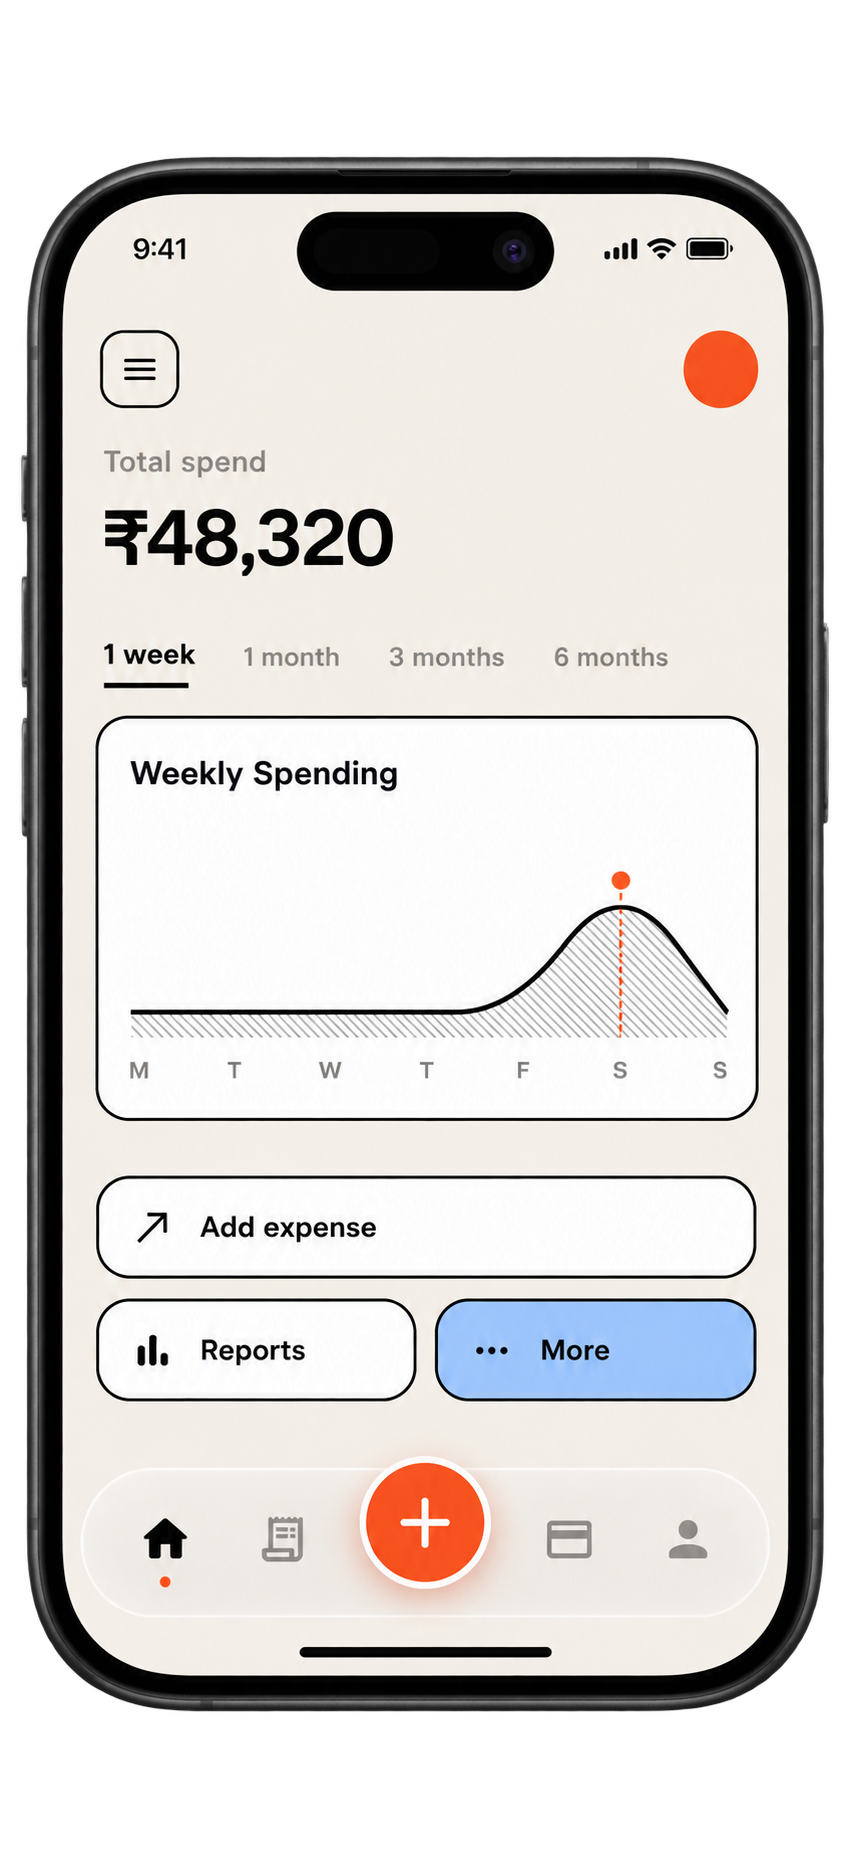
You can import an Indian Bank statement into an expense tracker by saving it from your own net banking as a PDF, CSV or Excel file, uploading it against the matching account, reading through the rows before they are saved, and then proving the totals against the closing balance. The proof step matters more than the upload, because it tells you whether anything went missing.
Before you download anything
Decide what period you want. A tracker works best with calendar months, so that April's rows can be compared with April's closing balance without dragging in March. If you are starting from scratch, begin with the last full month and work backwards one month at a time rather than pulling a whole year in a single file.
Then find the statement area in your own net banking or mobile app. Look under account services for words like statement, e-statement or account history; the exact label changes between app versions, so I will not quote one. If you cannot find it, ask your branch what electronic options exist for your account.
Which format should you pick?
| Format | Good for | Watch out for |
|---|---|---|
| CSV | Clean rows, easiest to check | Dates that spreadsheets reformat if you open and re-save the file |
| Excel | Rows you can sort and read before uploading | Merged header cells at the top |
| When nothing else is offered | Layout varies; password-protected files need opening first |
If you open a CSV in a spreadsheet, avoid saving it again before upload. Re-saving can change how dates and long reference numbers appear.
What happens at the upload stage?
- Choose the Indian Bank account in your tracker, or create it now with a clear name, such as Indian Bank savings.
- Select the file. Add other months in the same batch if you have them.
- Check the preview. Does the first row match the first line of the statement, and the last row the last?
- Correct anything doubtful, then confirm the save.
- Look at the import history to see the result of each file.
SpendixAI asks you to pick the account before the import, so each transaction stays tied to that account, and you review rows before saving. Uploaded files appear in an import history with a status, and an Import failed notification tells you when a file could not be read. We have not seen every Indian Bank layout, so treat the first import as a trial run and read it with care.
How do you prove the totals?
Your statement lists an opening balance and a closing balance. The tracker's credits minus its debits should explain the gap between them. Take invented figures: opening balance ₹61,200, credits ₹40,000 and debits ₹52,800. The change is 40,000 - 52,800 = -₹12,800, so the closing balance should be 61,200 - 12,800 = ₹48,400.
If your figure differs by exactly the amount of one row, you have probably found a missing or doubled entry. If it differs by a round amount that matches no row, check whether a credit has been read as a debit, which would show a gap of twice that amount.
What if the same transaction is uploaded twice?
It happens when two files overlap. SpendixAI marks possible duplicate imports so you can look before saving, and a separate Possible duplicate charges report lists the same amount paid to the same merchant within two days. The second one is useful beyond import mistakes: it can reveal a real double payment that you may want to raise with the merchant.
A tidy-up list for the first week
- Rename the account so a glance shows the bank and type.
- Fix the five biggest merchants and add rules for them.
- Tick the closing balance off against the statement.
- Add any cash expenses you remember from the month.
Useful ideas start with a clearer picture of your own spending.
Explore your reports