To tag expenses by room or project, decide on one label per room, apply it to every line you record or import, attach the receipt to the same line, and then total by label. Whether the label is called a tag, a sub-category or a column in a sheet matters less than applying it the same way every time, from the first purchase.
What labels should you create?
Keep the list short and fixed before the first rupee is spent. A kitchen renovation might use Kitchen, Master bath, Bedroom, Living room, Balcony and General. General holds things that do not belong to one room, such as the contractor's advance, debris removal and wiring. Avoid creating a new label every time something odd comes up; put it in General and add a note.
How does this work with custom categories?
In SpendixAI, the way to do this is with custom categories and sub-categories. Create a category called Renovation and sub-categories for each room, and give each a colour so you can recognise it at a glance. You can also set a GST rate and the ITC-eligible and tax-deductible settings on a category, but treat anything the reports estimate as an estimate and confirm it with invoices and your CA.
- Create the Renovation category, then a sub-category for each room.
- Import your bank or card statement, choosing the right account first.
- Review the rows before saving and assign each renovation line to its room.
- Add your own rule for repeat merchants so the same shop lands in the right room next time.
- Add cash purchases by hand, several at once if you have a handful from the weekend.
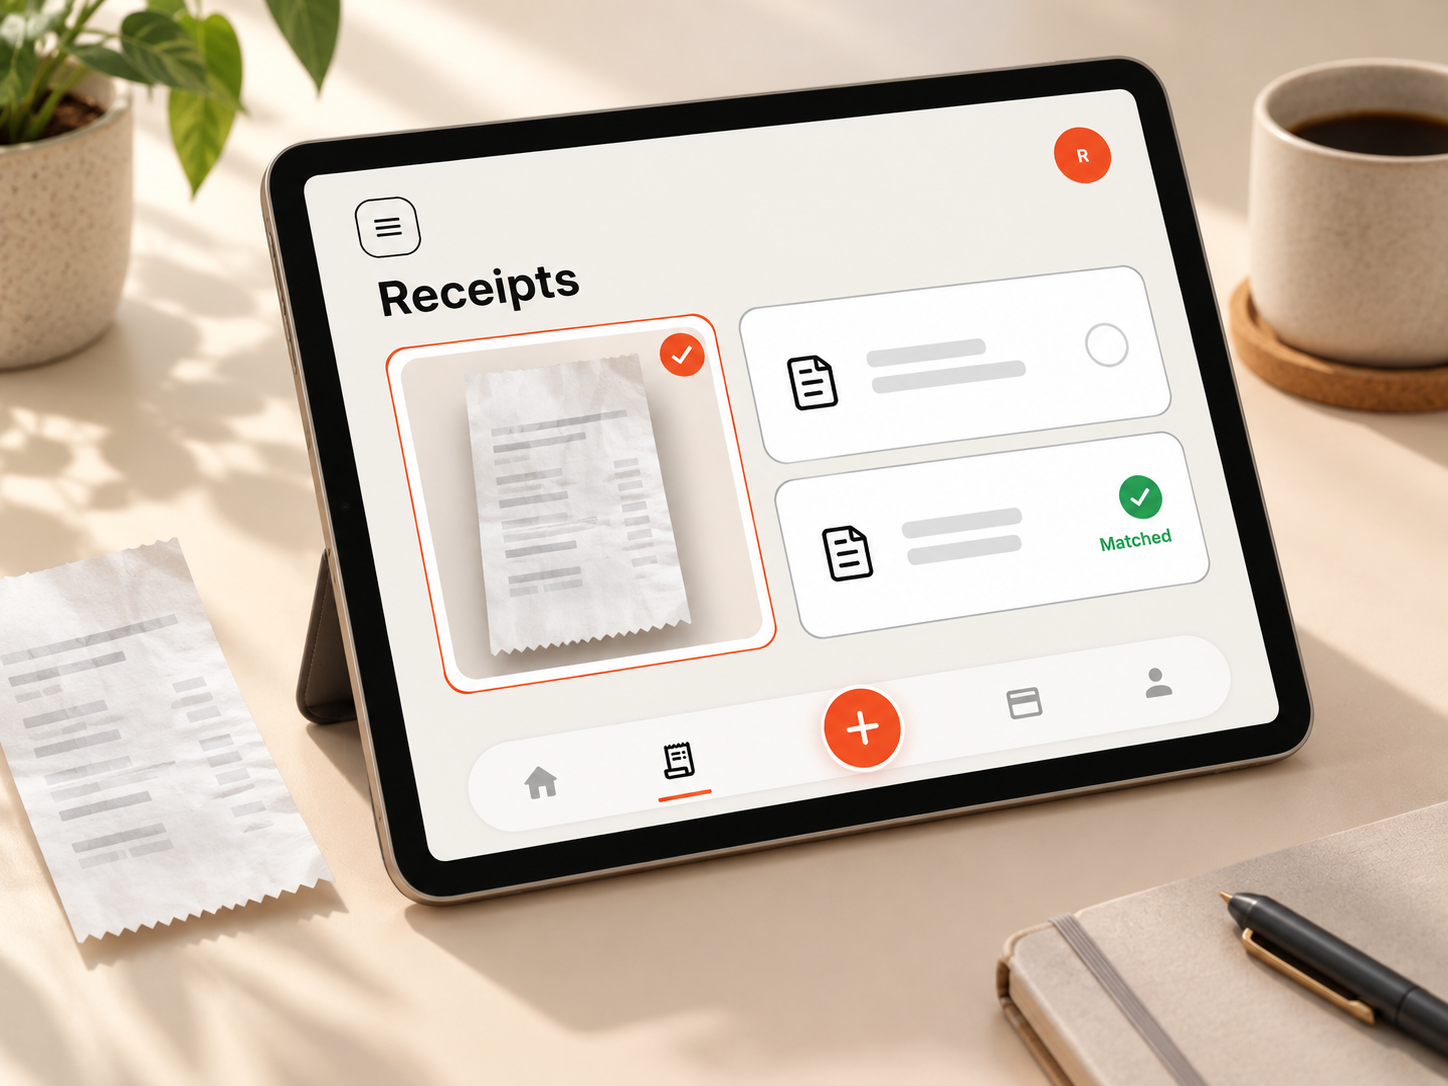
- Attach each receipt to its transaction so the bill sits next to the amount.
Rules, then your history, then similar merchants do the categorising in stages, and your corrections become history. That helps when a hardware shop shows up with a different name on each statement, but check the result because one shop might serve two rooms.
What if a bill covers two rooms?
Split it into two transactions if you can add them by hand. Say a ₹9,000 paint shop bill covers ₹5,400 for the bedroom and ₹3,600 for the living room. Check: 5,400 + 3,600 = ₹9,000. Put each part against its own room and note the bill number on both. If splitting is not practical, assign the whole bill to the larger room, and write the split in the note.
How do you report the spend per room?
The app has a Report builder where you can filter and group your transactions, and you can download the result as a CSV. Filter to the Renovation category, group by the sub-category if the grouping is offered for your report, and you should see one line per room. Check the screen you are on, since the available groupings may differ.
If you work in a spreadsheet instead, keep a Room column and total it with a formula. With amounts in D2:D500 and the room names in C2:C500, this gives the kitchen total: =SUMIFS($D$2:$D$500,$C$2:$C$500,"Kitchen"). Put a room name in a cell, such as F2, and use =SUMIFS($D$2:$D$500,$C$2:$C$500,F2) to copy the formula down a list of rooms. A sheet works until the lines pile up and receipts live in another folder, which is when an app that keeps them together earns its place.
A closing checklist
- A fixed list of room labels, including General.
- The label applied at the moment you record or review each line.
- A receipt attached to each transaction.
- A rule set up for each repeat shop.
- A monthly check that room totals add up to the overall renovation total.
Useful ideas start with a clearer picture of your own spending.
Explore your reports