Start where the money is decided
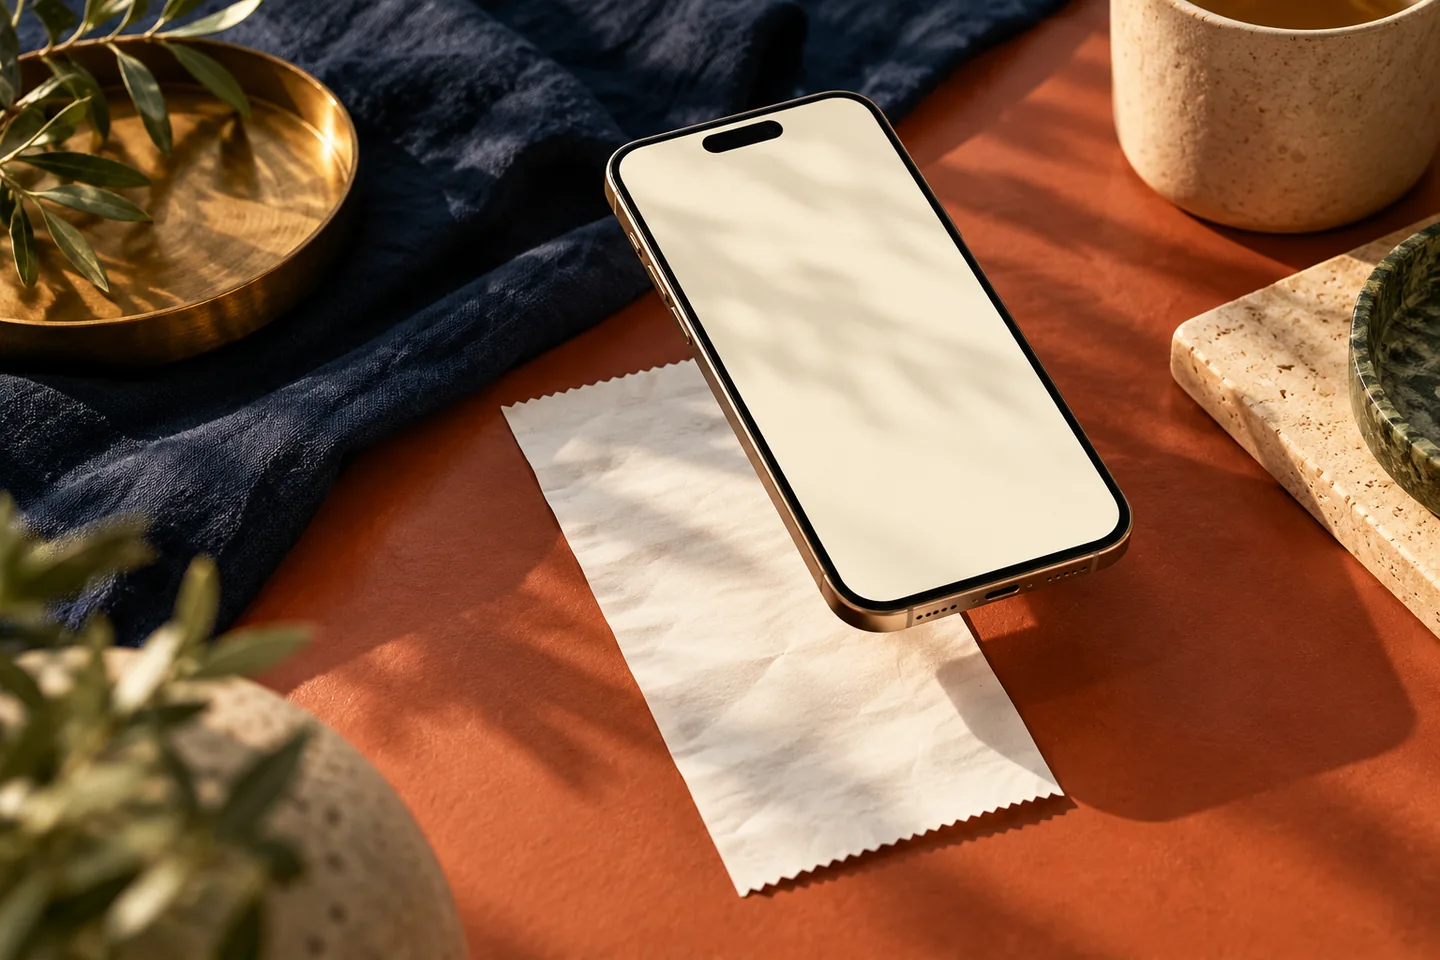
A long receipt invites a quick glance at the first few lines, then a fold into the bag. Yet the bottom of the paper is where the decisions are summarised: the gross amount, the discount applied, the tax shown and the final payable figure. Reading from the bottom up keeps attention on the numbers that determine what leaves the account.
The method is not about distrusting the shop. It is about forming a habit that catches the occasional scanning error, an expired offer or a duplicate line.
The four things to find first
- The final payable amount, which should match what the payment app or card slip shows.
- The total discount, if any, and whether it corresponds to an offer that was actually advertised.
- The tax summary, which usually lists the tax portion as a separate block.
- The item count, which should match what is in the bags.
If the final amount and the payment confirmation differ, the receipt needs a second look before leaving the counter, because corrections are far easier on the spot than after a week.
Then move upwards through the items
With the bottom confirmed, scan the item lines for three common oddities:
- The same item scanned twice when only one was bought.
- A weighted item, such as fruit, whose weight looks implausibly high.
- A promotional price that did not apply, so the full price was charged.
A scanned barcode is only as reliable as the shelf label it was meant to match. If the shelf price and the billed price disagree, the shop can usually correct it at once, provided the bill is still in hand.
A tiny worked check
A receipt shows 14 items and a final amount of 1,876 units. Under the items, the discount line says 120 units and the tax block lists 94 units. A quick sum of the printed subtotal minus the discount should land on the payable figure. If the subtotal is 1,996, then 1,996 minus 120 equals 1,876, and the receipt agrees with itself.
When the internal arithmetic holds, the remaining risk is a wrong price on a single item, which is why the shelf-label comparison matters for expensive lines.
What to keep and what to let go
Not every receipt deserves a file. A sensible split:
- Keep receipts for appliances, branded gifts and anything that might be exchanged.
- Photograph receipts that show a discount you want to verify against the card statement.
- Discard routine staple receipts after the transaction is logged and the month is reconciled.
Photographing the bill and attaching it to the transaction means the paper itself can go, while the proof stays available.
Linking the receipt to the record
In the app, the receipt’s final figure becomes the transaction amount and its itemised lines can inform the category split. If an offer was promised on a card or wallet and did not appear, note it on the entry so it can be checked against the next statement. Over time, these small notes expose which stores and which offers tend to go wrong, and that knowledge is worth more than any single saved coin.
A habit that helps beyond groceries
The bottom-up read is not unique to supermarkets. The same sequence works on restaurant bills, pharmacy invoices and electronics receipts: confirm the payable amount first, understand the discounts and taxes second, and only then examine the individual lines. Practising it on weekly grocery trips makes it automatic for larger purchases, where an error would cost much more.
Over time, the habit also creates a calmer relationship with bills. Instead of a vague feeling of having been charged too much, there is a specific, checkable list of what was paid for.
Useful ideas start with a clearer picture of your own spending.
Explore your reports